 Polka Dot Cake
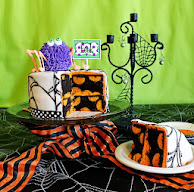
I know... it's a little early for halloween, but I made a cake.

And the inside is even better... because I made a
Polka Dot Cake!

I've had this idea in my brain for awhile. It turned out pretty good. But I think after my first attempt I'd tackle it a bit differently next time. I'll give you my thoughts on that after the directions.
Here's how I did it.

I have this little nifty cake pop maker. It's fun, especially for the kids. It doesn't make the decadent bakerella cake pops, they are actually more like a donut hole. But they are quick, easy and so far fail proof. Anyway… this is how I made the polka dot cake.
Step 1

I made the cake balls with the cake pop maker. Using the recipe that comes with the machine, adding orange food coloring.
I honestly wonder if you could just get some donut holes and use them. Or maybe make a sheet cake, and use a melon baller to scoop out spheres. Some experimenting is needed. :)
Step 2

Cut a bunch of the cake balls in half with a knife.
Step 3
Make the cake batter (I just used a boxed cake mix. This one is devils food, it sounded halloweenish. I added a little black food coloring to it as well).
Step 4

Pour a small amount of batter into the bottom of a greased and floured pan. Then push some of the half sized cake balls flat side down into the batter.
Step 5

Add a little batter to a halved cake pop, onto the flat side, and then stick it to the side of the pan.

Continue this step until you have halved cake pops around the side of the pan
Step 6

Add more batter into pan.
Step 7

Place a bunch of full sized cake balls into the batter.
Step 8

Top off with more batter
Step 9
Cook.
It took longer to bake than the directions on the cake box stated. About 10-15 minutes extra. I'm sure it has something to do with all the cake balls in there. And p.s. I was worried that the cake balls would dry out, from cooking again, but they were just fine, and the devils food cake itself was awesomely moist.
Step 10

Cut off any extra poofy cake from the top to level it.
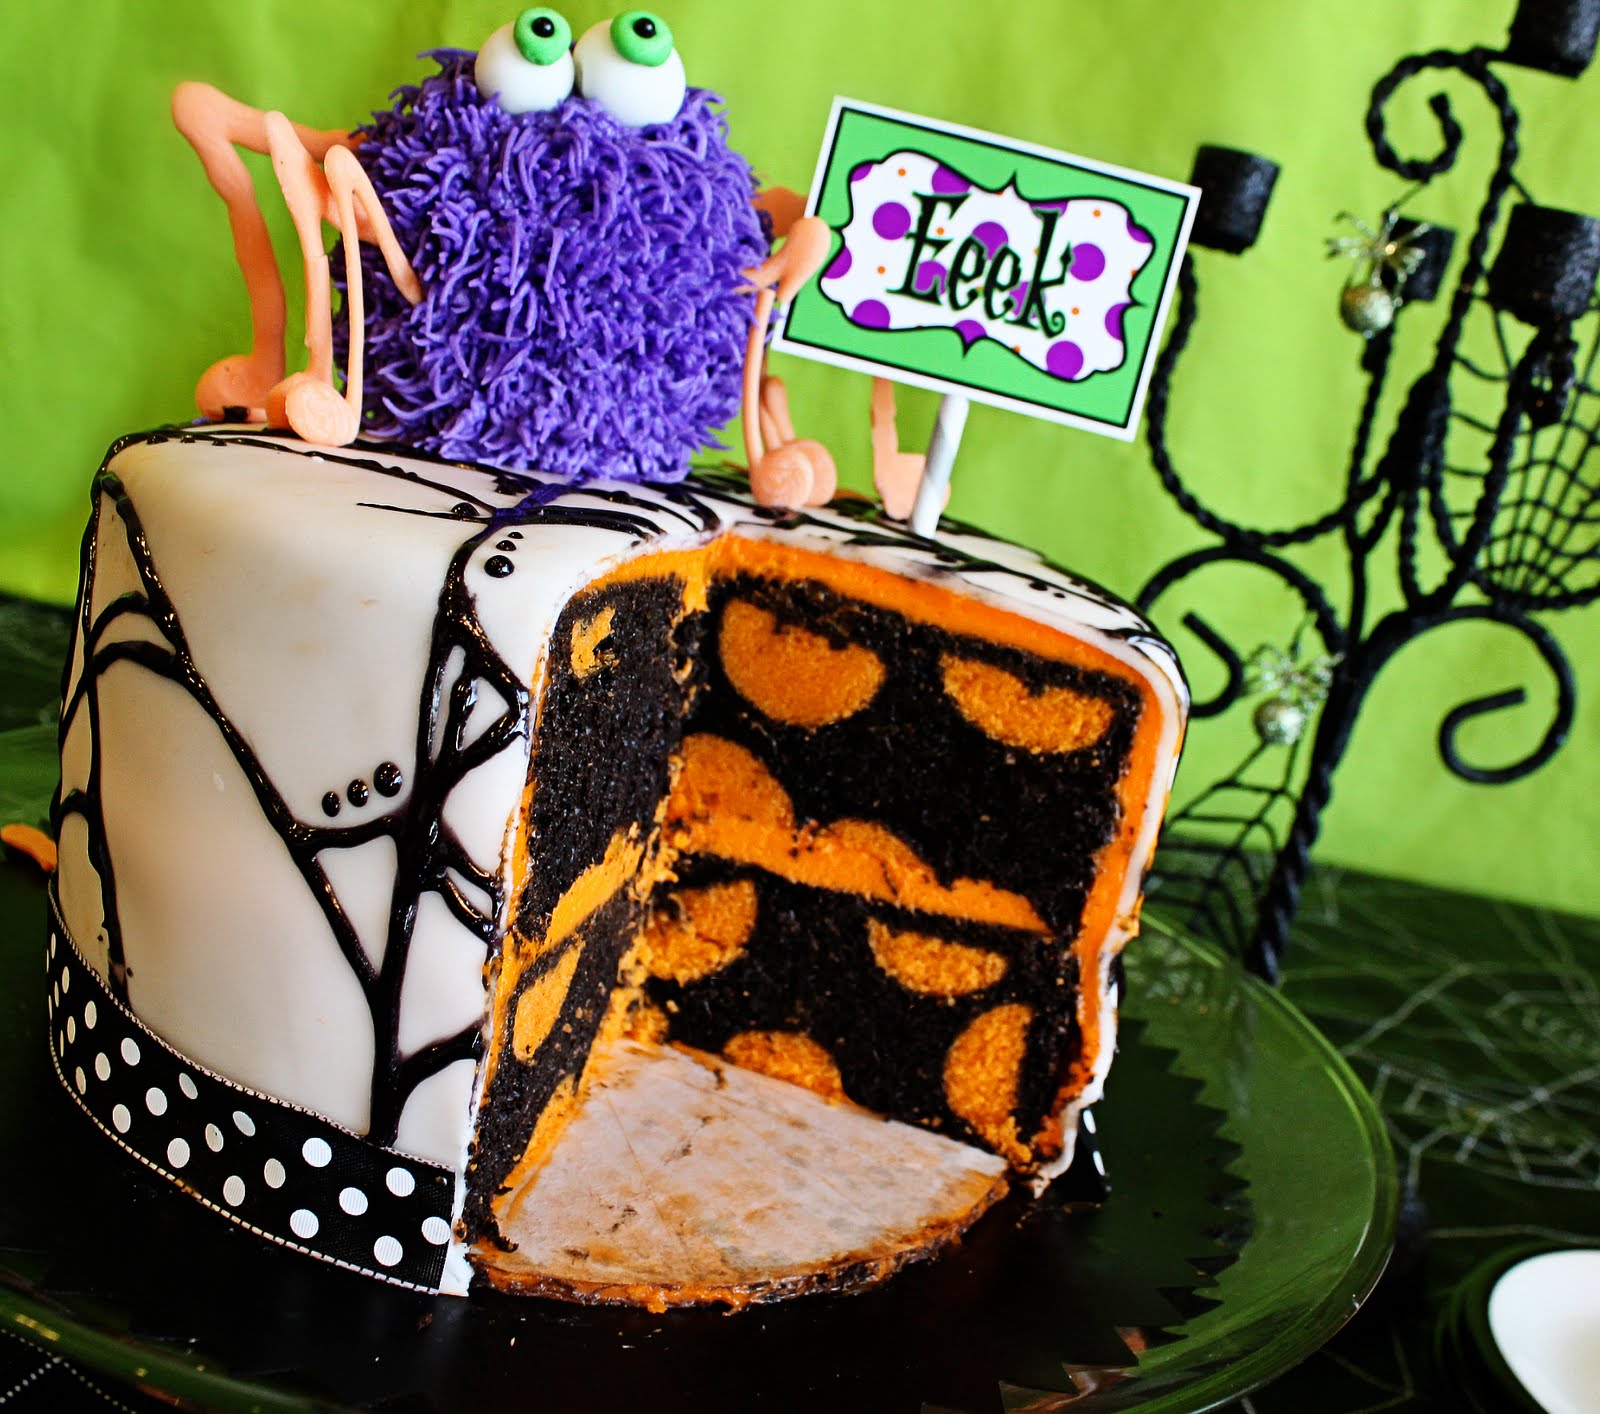
And there you go! I made two, and stacked them with orange colored frosting in-between. You could do this in any color. I think a white cake with pink polka dots would be just about the most precious cake ever!

Alrighty, now I'm going to tell you how I'll be attempting it next time. I think it will work better this way. In step four Instead of just placing half of a cake pop down, I think I'd do some cake balls half size and some whole. Then I wouldn't worry about step seven. When the cake rose, it caused the full cake balls to rise with it, and when I lopped off the top of the cake (step ten), it caused the whole cake pops to become half cake pops. They got cut along with the cake. (Does that make sense). So I didn't get any full polka dots. I am planning on making another one of these.
I'll let you know how it goes!
Is it bad that I'm showing you my sort of, kind of, turned out Polka Dot Cake and not a perfect one that may come after a few attempts? I'm sure I'm breaking all sorts of blogging unwritten rules.
The blogging police would probably be gasping and tisk tisk tisking me.
I also shouldn't tell you that the back of the cake looks like it was mangled by a rabid dog.
I was having major fondant issues, and instead of throwing it through the window (I almost did… really, I was so frustrated), I just kinda smashed the fondant all to one side. Then I decided it would be the back side, and I'd call it a day.
I should have taken photos… it would have made you laugh.
Aaaannnnd…. I made you something.

Here are some free little halloween labels. Just like the little "Eeek" sign next to Mr. spider. Go ahead, download and enjoy. They'd be cute as cupcake toppers too. Fun, fun!
Have a happy labor day weekend everyone!
anj.
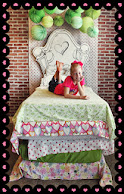
P.S... I used this technique for my daughters Princess and the Pea Party with white cake and green cake balls. You can check it out Here...
HapPea Birthday Party